This tutorial is a follow up the previous post Getting started with your first website. On the previous tutorial we have selected a hosting company and a operating system to run our server. We used Apache as a web server, MySQL as a database, and PHP as a programing language. The next step will be to setup an application that make use of all these technologies and create something useful. Our application will be a WordPress Blog.

WordPress is web software you can use to create a beautiful website or blog.
If you followed the previous tutorial, you must have a working environment by now.
Downloading WordPress
Let's start by downloading wordpress from the official source. You can either go to their website, download it and copy it to your server, or you do it all from the command. Let's move to the home folder and download the files.
cd ~/
wget http://wordpress.org/latest.tar.gz
We downloaded a compressed file with the latest version of the application. Now let's extract the files:
tar -zxvf latest.tar.gz
rm latest.tar.gz
You now have a new WordPress folder. We need to tie it to the web server. For that we will create a symlink (shortcut) in the main web folder to point to WordPress. In the previous tutorial we learned that Apache's default web folder is /var/www/
cd /var/www/
sudo ln -s ~/wordpress blog
We need to use the sudo command here because we need permission to write in the web folder. Our blog will now be in the path /var/www/blog. We are now going to step away from the blog files for a second and create a database.
Setting up the database
When you first installed MySQL you were asked to create a password. We are going to need this password now to connect to the database.
mysql -u root -pYou will be prompted to enter a password. Please do and press enter. We can now create a database and a user. Let's call the database myblog and the user wordpressuser.
CREATE DATABASE myblog;
# Query OK, 1 row affected (0.00 sec)

GRANT ALL PRIVILEGES ON myblog.* TO "wordpressuser"@"localhost" IDENTIFIED BY "password";
# Query OK, 0 rows affected (0.00 sec)

FLUSH PRIVILEGES;
# Query OK, 0 rows affected (0.01 sec)
The lines starting with # are the results outputted, so don't run them. Please replace the word "password" with something more suitable and do make note of it, we will use it in a second.
Setting up wp-config.php
Let's edit the wp-config.php file now to tell WordPress where our database is and how to log in. We will use Vim text editor to modify the file. If you are not familiar with Vim here is a small tutorial to get you started. By default WordPress has a wp-config-sample.php. We will make a copy and modify it.
cp wp-config-sample.php wp-config.php
vim wp-config.php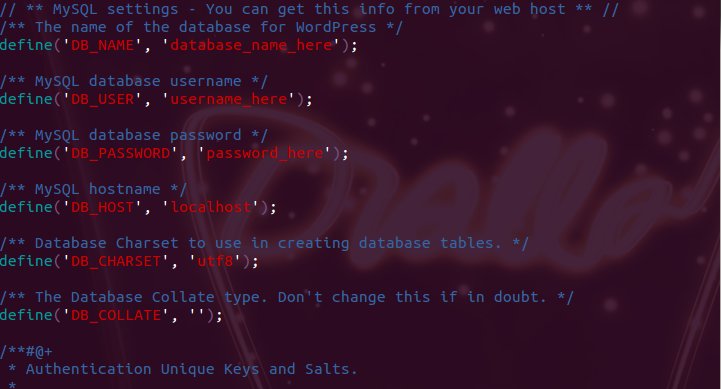
Original wp-config.php file
Update the database name, the user name, and the password to match the credentials we created earlier in the database:
/** The name of the database for WordPress */
define('DB_NAME', 'myblog');

/** MySQL database username */
define('DB_USER', 'wordpressuser');

/** MySQL database password */
define('DB_PASSWORD', 'your new password here');
WordPress has some security features and in order to take full advantage you have to complete the next section of the wp-config.php file. You don't need to generate the random keys yourself. WordPress makes it easy by providing an API that will give you random values.
We are almost there, now all we need to do is point Apache to our WordPress blog.
Setting up Apache
Let's start by disabling the default Apache root site.
sudo a2dissite defaultWe want the default site to be our blog on this server. Let's go to the list of sites folder for apache and set it up. It is located under /etc/apache2/sites-available/
sudo vim /etc/apache2/sites-available/blog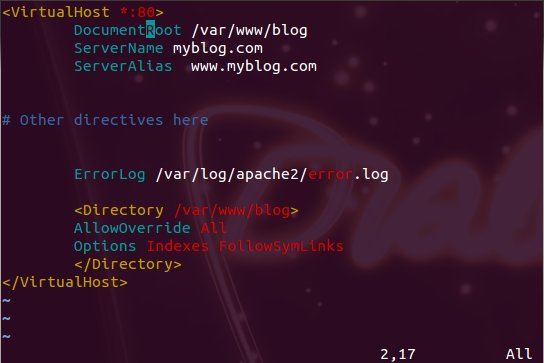
WordPress apache config
Let's save the file and enable the site and restart the web server to load our changes:
sudo a2ensite blog
sudo service apache2 restart
Running our blog for the first time
Perfect we are now ready to test our new WordPress blog. Open your favorite browser and go to http://<your server ip> or if you had chosen a domain name already you can go to your domain name.
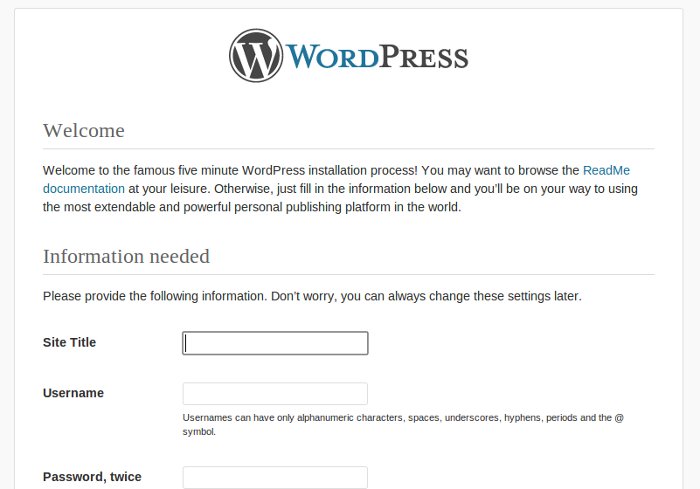
Setting up WordPress blog title and user.
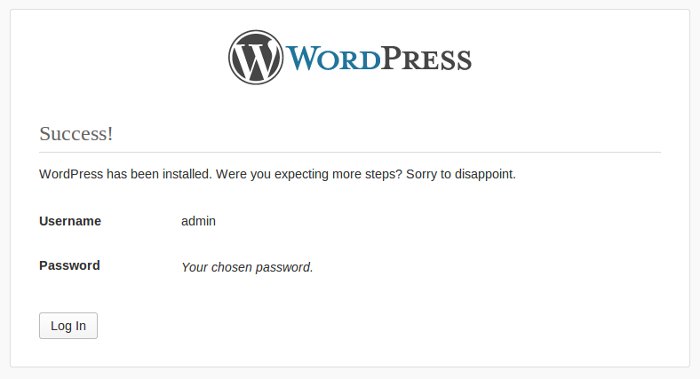
And we are done.
To log in, go to http://<your server ip>/wp-admin. From there you can control everything that is seen on your blog.
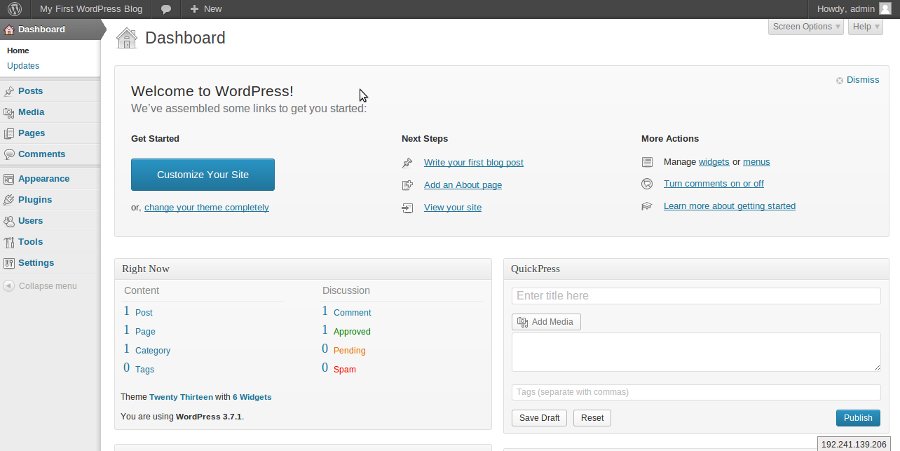
WordPress Ultimate Command center or Dashboard.
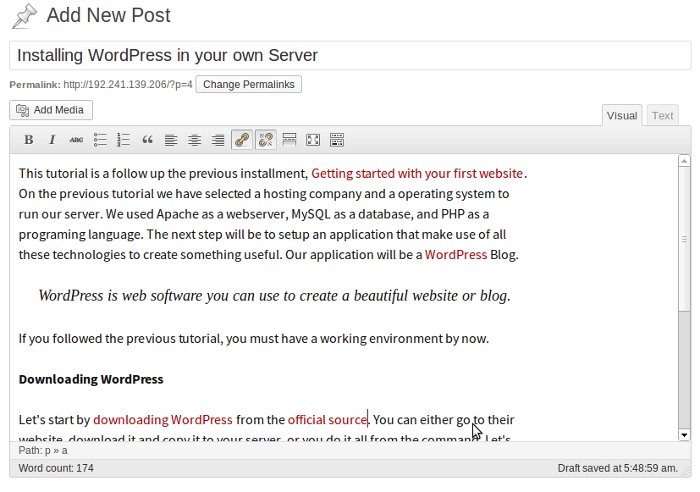
Create a new post
As for as setting up the blog we are all set. There is one thing that you may have notice. In order to access the site we are typing the IP address on the URL bar. If you have a domain name we can make use of it.
Setting up your domain name.
If you have followed the tutorial from the installments you have probably used DigitalOcean as a hosting provider. They are affordable and very reliable. Setting up a domain name is basically the same process for each provider. If you have any difficulties, please consult with your hosting provider.
With DigitalOcean all you have to do is go to the DNS menu and click on add domain.
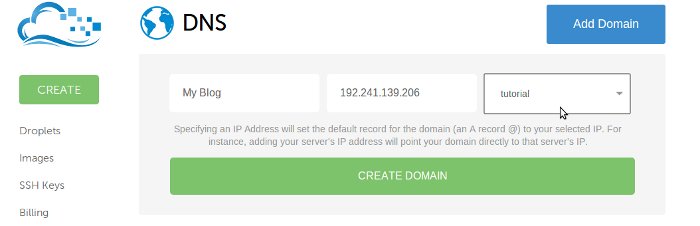
From the DNS menu, click on create domain
That's all there is to do here. Now we have to go back to our server in the terminal add the domain name. The file in question will be our apache config file /etc/apache2/sites-available/blog
sudo vim /etc/apache2/sites-available/blogAnd add your domain name to the server name:
ServerName myblog.com
ServerAlias  www.myblog.com
Replace myblog.com with whatever domain you registered. Save the file and we also need to modify our host file found in /etc/hosts
sudo vim /etc/hostsAdd this entry at the end of the file:
127.0.0.1 myblog.com www.myblog.comReplace myblog.com with your domain name of course. Let's restart the web server with:
sudo service apache2 restartWe are set. Open your favorite browser and test your domain name and Voilà!
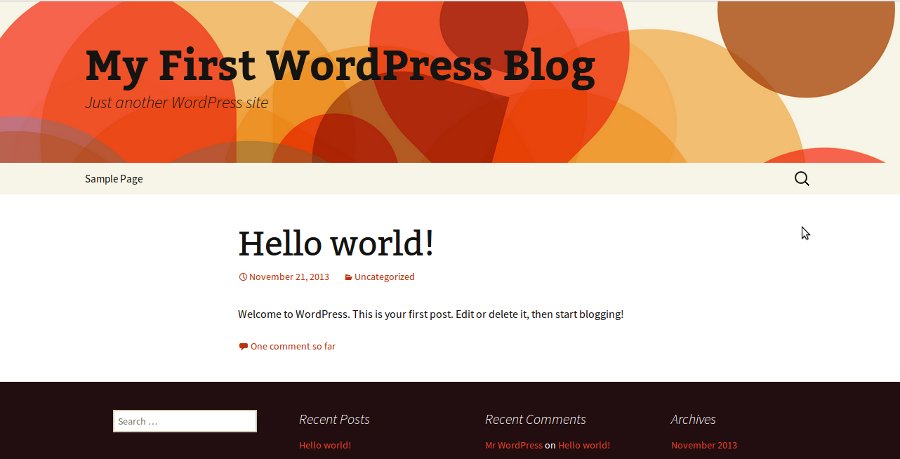
Here is how your blog looks like now.
If you have any trouble getting it to work feel free to ask me in the comments. If you have trouble setting up your domain name check out DigitalOcean documentation, it is pretty straight forward.
Alright we are done. You now have a working WordPress blog that you have set up from scratch. You installed a web server, a programing language, a database and a blog. You can always login in the admin section and play with the dashboard and see all the features WordPress offers.
Until the next time happy coding.

Join the Conversation