At the end of every month, I used to religiously check the total internet bandwidth we'd consumed at home. A decade ago, my ISP would throttle our connection if we crossed some loosely defined threshold, so monitoring usage felt essential. Those days are long gone. With gigabit internet widely available and everyone streaming Netflix in different rooms simultaneously, I've spared myself the monthly ritual of bandwidth anxiety.
It's rare for anyone to worry about internet bandwidth anymore. But I'll admit something still bothers me about wasted bandwidth. Especially when a few smart choices here and there can result in noticeably faster websites. My beef today isn't really with React itself, but rather with what most people teaching React consistently omit from their curriculum: image formats.
I'm not going to derail into the fascinating but lengthy history of image compression algorithms. Instead, I want to show you which formats you should actually be using in different scenarios, because getting this wrong can tank your site's performance faster than you can say "Core Web Vitals."
The Two Formats That Matter Most
Web browsers support a surprisingly wide range of image types, but for practical purposes, we can focus on two workhorses: JPEG and PNG. Understanding when to use each one is like having a superpower that most developers never develop.
In recent years, I watched developers reflexively export all their Figma assets into PNGs. The reasoning is always the same: "We want sharp images." I hear this from product managers constantly, and honestly, it drives me a little crazy. When I show them the same image in JPEG format five minutes later, they're completely satisfied with the quality.
Using PNGs for photographs isn't just inefficient; it's wasteful in a way that compounds across your entire site. PNG is a lossless format, meaning every microscopic detail of the original image gets preserved. Technically, yes, a PNG will be sharper than a JPEG. But in most real-world scenarios, that sharpness difference is practically invisible to users, while the file size difference can be dramatic, sometimes 3-5x larger.
When PNG Actually Shines
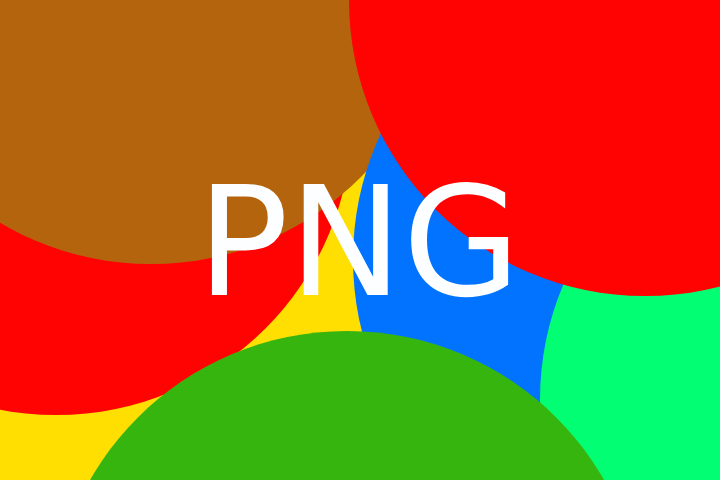
This PNG is 17KB
Don't get me wrong, PNGs absolutely have their place, and when used correctly, they're fantastic. PNGs excel with images that consist of solid colors, sharp edges, and limited color palettes. Think logos, simple illustrations, interface elements, icons, or anything with transparency. For these types of images, PNG can preserve crisp lines and solid colors while keeping file sizes reasonable. It's the perfect marriage of high quality and small footprint.
The transparency support alone makes PNG irreplaceable for many use cases. Try putting a transparent logo over a background with JPEG. You'll quickly understand why PNG exists.
JPEG: The Workhorse for Complex Images
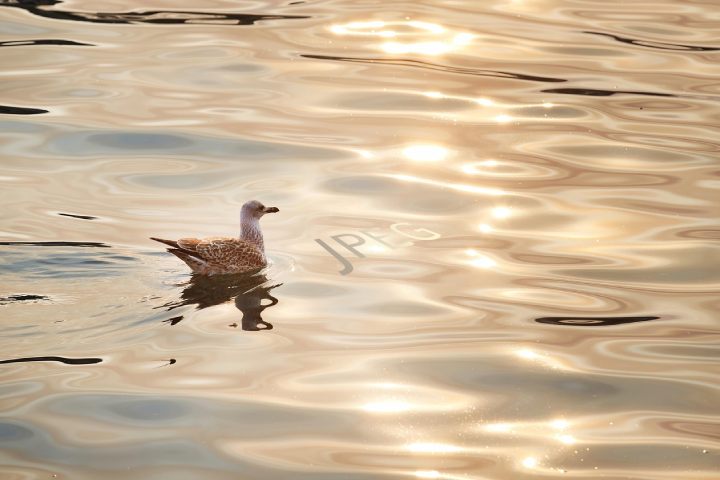
JPEGs are designed for complex images and photographs. If you're displaying a landscape, a portrait, a product photo, or basically anything that looks like it belongs in the real world rather than being drawn with vector graphics, JPEG is your friend.
The magic of JPEG is in its lossy compression algorithm, which is specifically tuned for how human vision works. It can throw away visual information that our eyes can't readily detect, resulting in dramatically smaller files that look nearly identical to the original. For photographs, you can achieve that same sweet spot: high-quality images with a small footprint.
The Real Cost of Getting This Wrong
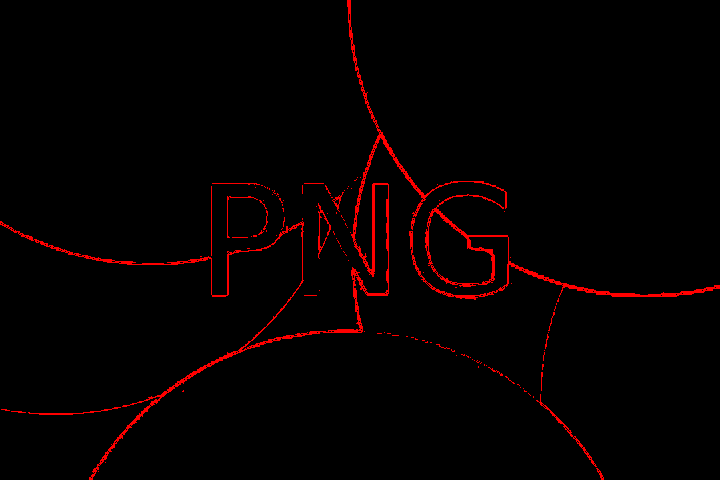
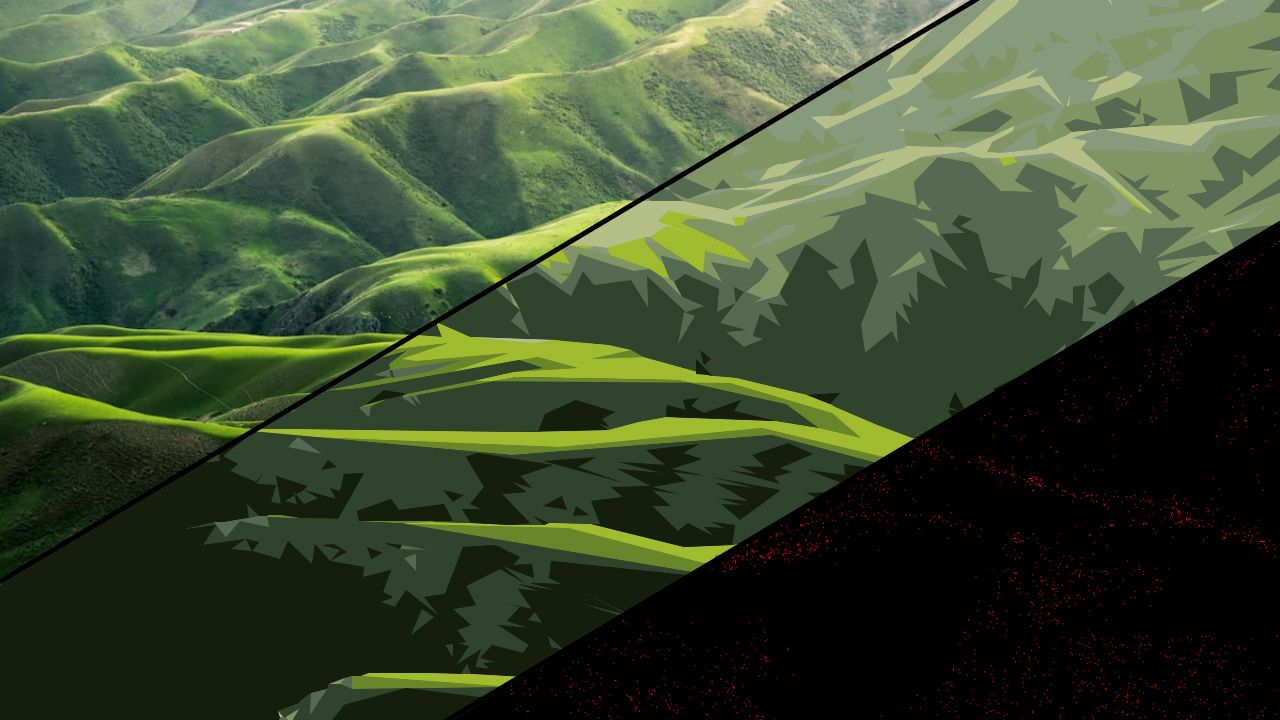
The pixels affected during conversion from PNG to JPEG
What happens when you choose the wrong format? Your website becomes sluggish, and not just on slow connections. Even with blazing-fast internet, larger files take more time to download, decode, and render. Users notice the difference, even if they can't articulate why your site feels slower than your competitor's.
I've seen React apps where developers unknowingly used PNG for a hero image of a sunset. The file was 2.3MB when it could have been 180KB as a JPEG with virtually no visible quality loss. Multiply that across a dozen images on a page, and you're looking at the difference between a snappy user experience and one that feels sluggish.
Should This Be Automated?
You might be thinking, "Can't we just build a tool that automatically tests each image in different formats and picks the smallest one?" Sure, we could. There are actually some tools that attempt this. But honestly, a quick visual inspection will get you 90% of the way there with zero setup time.
The rule of thumb is embarrassingly simple: if the image looks complex (lots of colors, gradients, natural textures), use JPEG. If it looks simple (solid colors, sharp lines, text, transparency), use PNG.
What About WebP?
Now you're probably wondering: "Should I be using WebP instead?" It's a fair question, and the answer is... maybe.
WebP is Google's attempt to create a format that handles both lossy and lossless compression well. In theory, it could eliminate the guesswork and let you focus on just one format. WebP files are typically 25-35% smaller than their JPEG equivalents and can handle transparency like PNG.
The catch? Tooling and workflow integration. While browser support for WebP is now excellent, finding reliable tools that properly optimize WebP images, especially for lossless compression, is quite difficult. Most image optimization tools still do a better job with the tried-and-true JPEG/PNG combo.
My recommendation: start with mastering JPEG and PNG selection. Once you've got that down and you're ready to squeeze out every last byte of optimization, then explore WebP. But don't let the perfect be the enemy of the good.
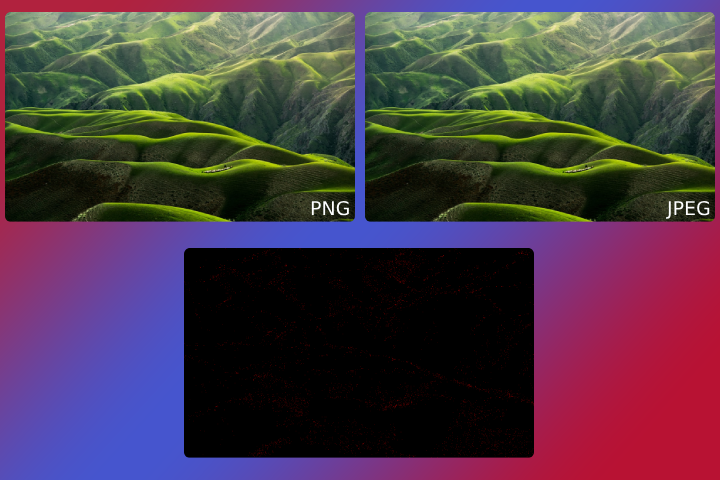
Converting a PNG Picture to JPEG loses imperceptible details. Yet shaves 2.5MB off the picture.
SVG
Once you've mastered PNG and JPEG selection, SVG is your next level up. But only for the right use cases.
SVG shines for simple graphics that need to scale perfectly at any size: icons, logos, simple illustrations, and basic shapes. The beauty of SVG is that it's vector-based, so a tiny 2KB file can look crisp on everything from a phone screen to a billboard. Plus, you can style SVGs with CSS and even animate them.
But here's where people go wrong: they try to convert complex photographs or detailed images to SVG. Don't do this. I've seen developers attempt to turn a product photo into an SVG and end up with a 500KB monstrosity that looks worse than the original JPEG would have been at 50KB. SVG files can become massive when they're trying to represent complex imagery with thousands of vector paths.
The rule is simple: if you can imagine drawing the image with basic shapes and lines, SVG might work. If it looks like something you'd need a camera to capture, stick with JPEG.

This is a SVG. Only 2KB!
The React Connection
So why don't React tutorials teach this? Because most React instructors focus on JavaScript concepts, component architecture, and state management. Image optimization feels like a "design concern" or something that should be handled by your build process.
As a React developer, you're often the one choosing which images to include and how to implement them. Those decisions directly impact your app's performance, and performance directly impacts user experience and business metrics.
Understanding image formats isn't just about being a better developer. It's about building React applications that actually work well in the real world, not just in localhost development mode.
The next time you're adding images to your React app, take thirty seconds to think about format choice. Your users' bandwidth and your site's performance metrics will thank you.

Join the Conversation